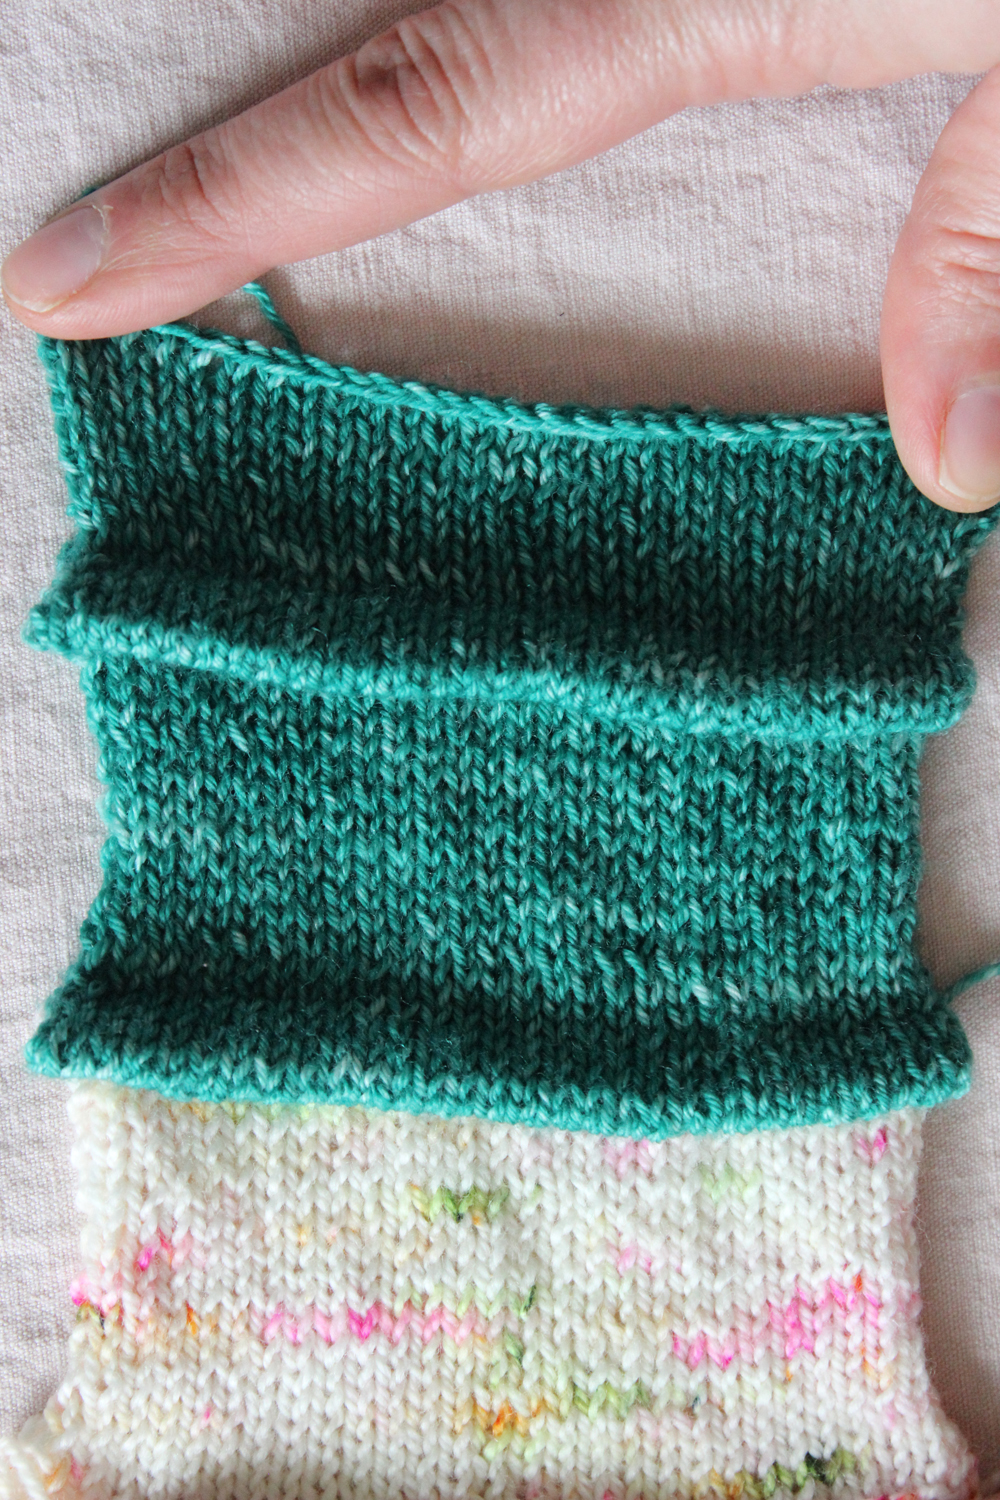
It is possible to create horizontal pleat while working a project, by knitting the stitchesof one row to the back of the stitches from a row below. The more rows there are, the beefier the pleat is.
In the example below, the pleat is worked right after ^picking up stitches in a second colourway.
Step 1
Work the number of rows necessary to create the pleat (here 10 rows). Once finished, the pleat height will be half the number (= 5 rows).
The more rows there are, the beefier the pleat is
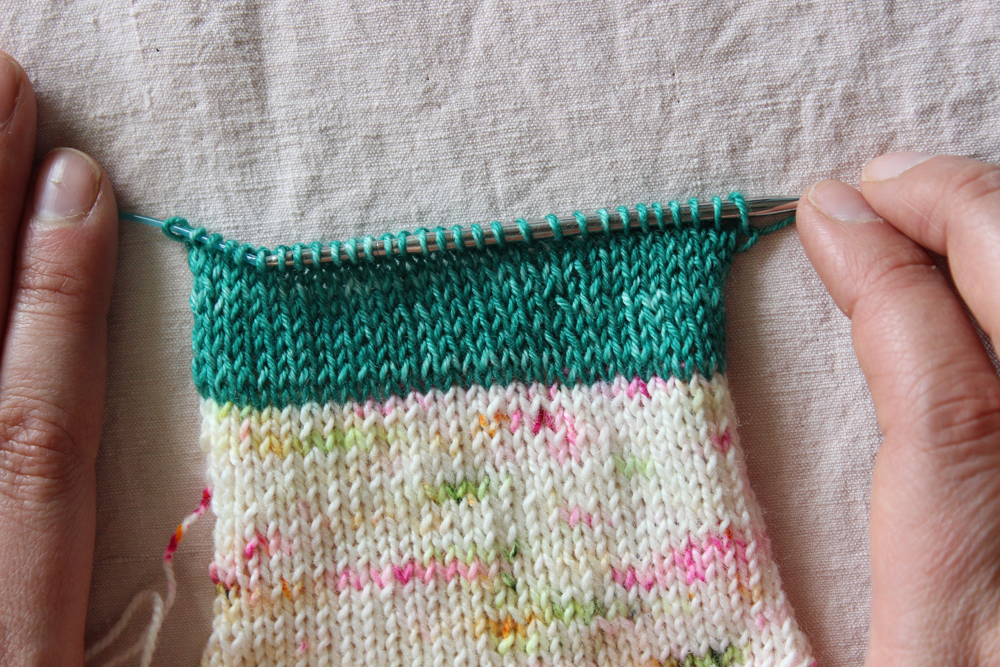
Fold your project in 2 toward the back to create the pleat. Locate the stitches from the bottom row to which you will attach the stitches from the upper row.
In this example, the row is the first one after picking up stitches.
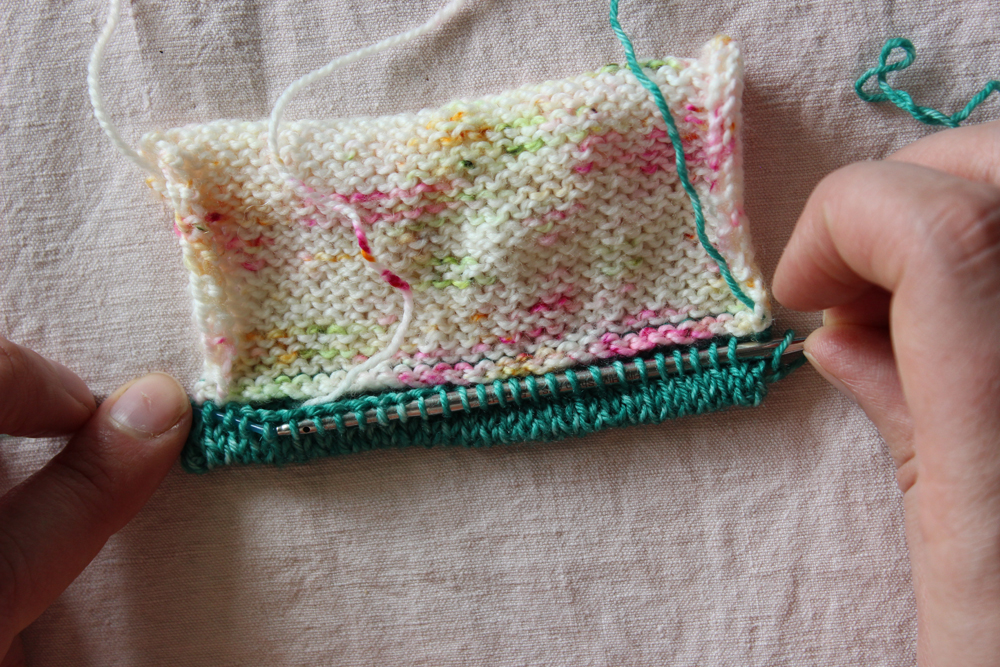
If you are working pleats in a project without significant landmark (such as change of colour, picking up stitches…), you can slide a strand of yarn from a different colour into the back of all the stitches of the bottom row.
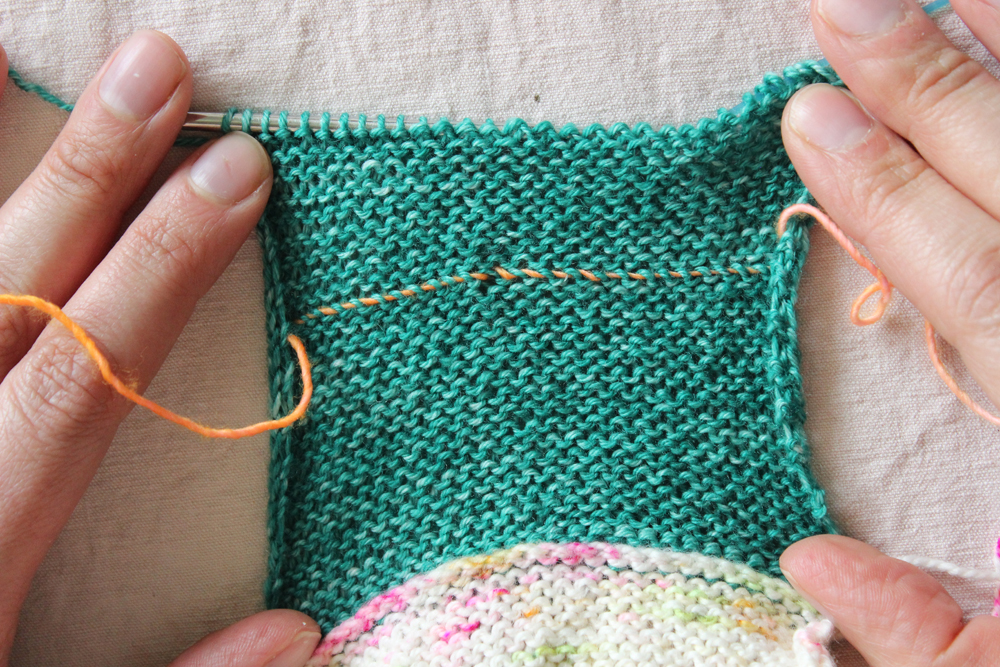
Step 2
Locate the bump at the back of the stitch from the bottom row below the first stitch on your left needle.
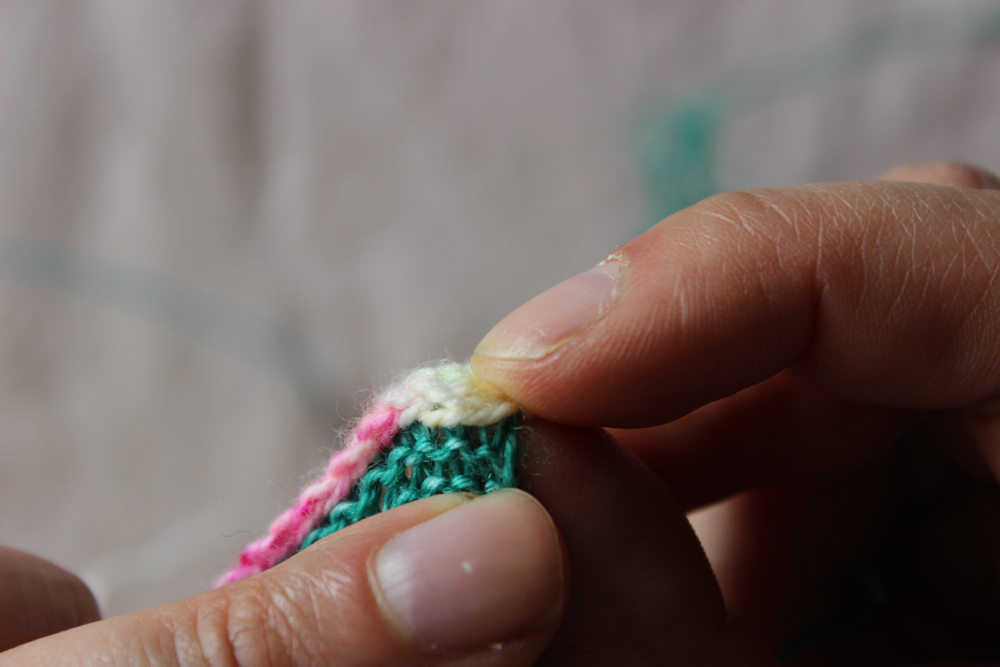
Pass the tip of your left needle into the bump.
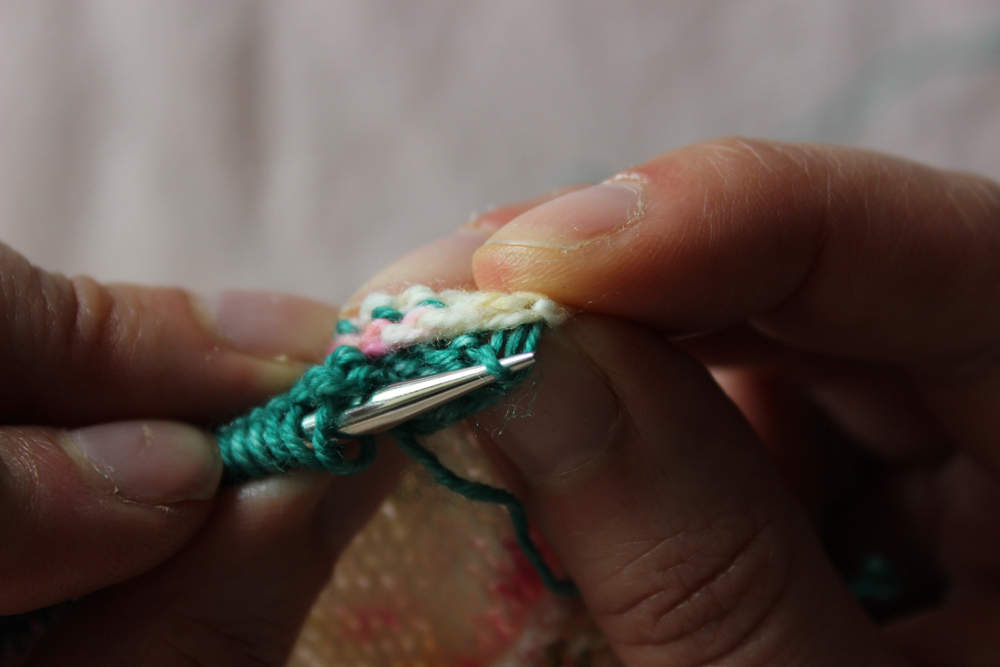
Step 3
Knit together the first stich from the left needle with the bump.
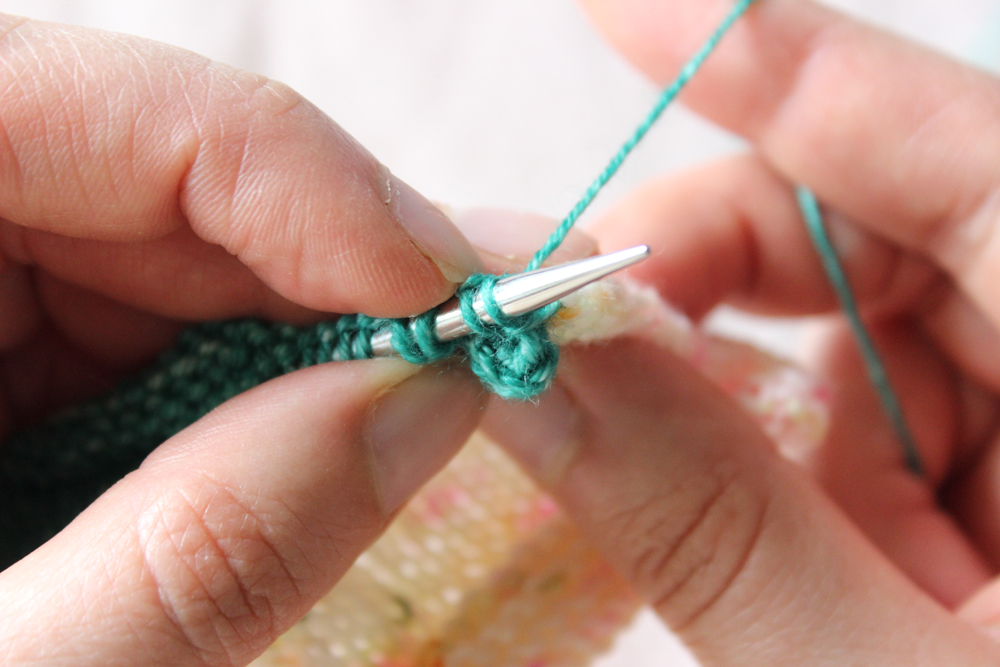
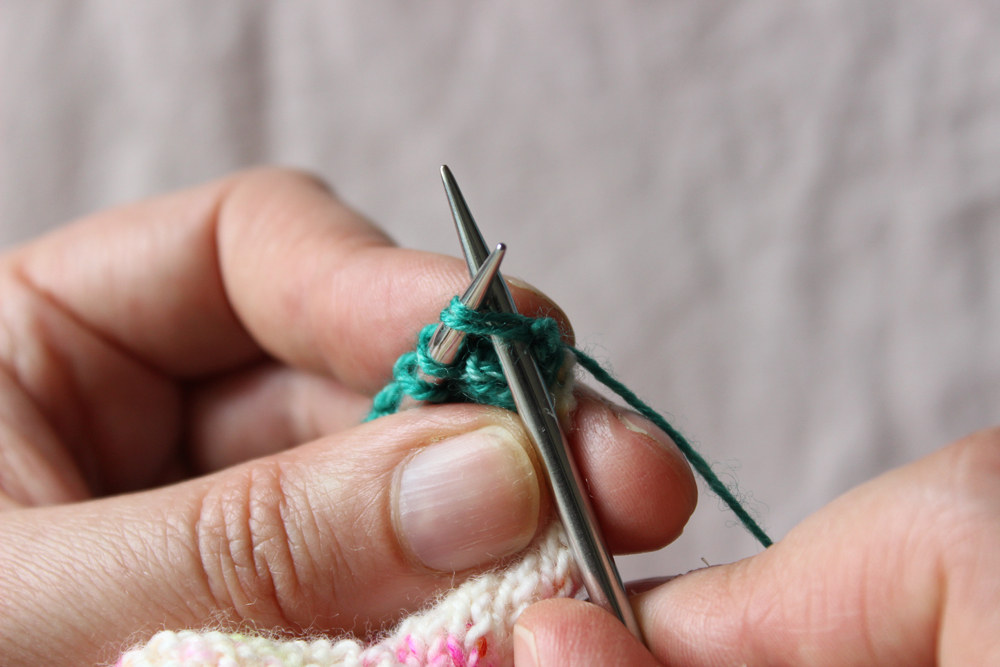
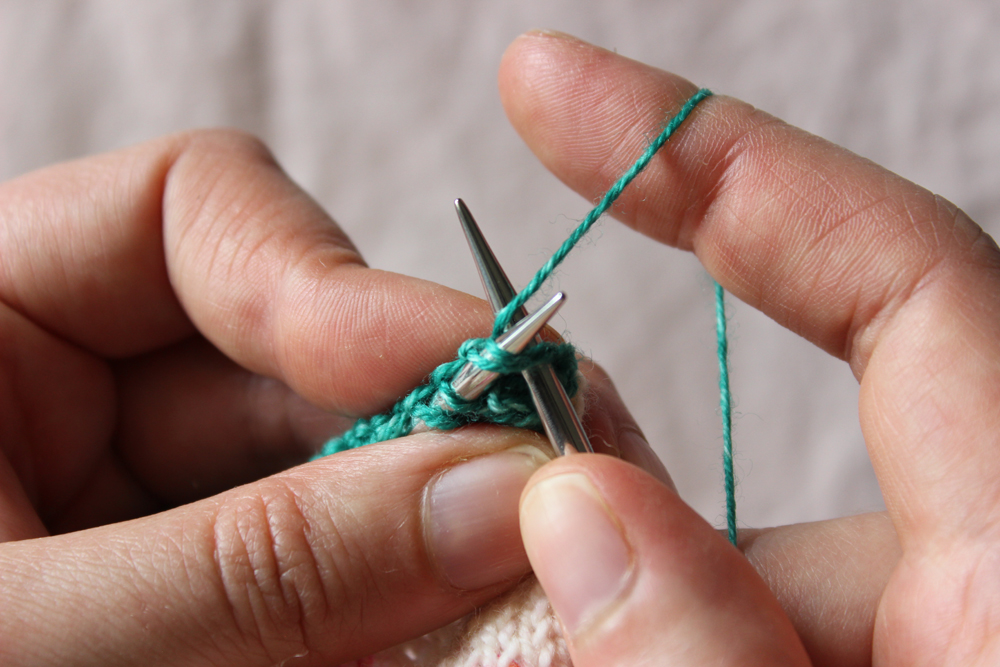
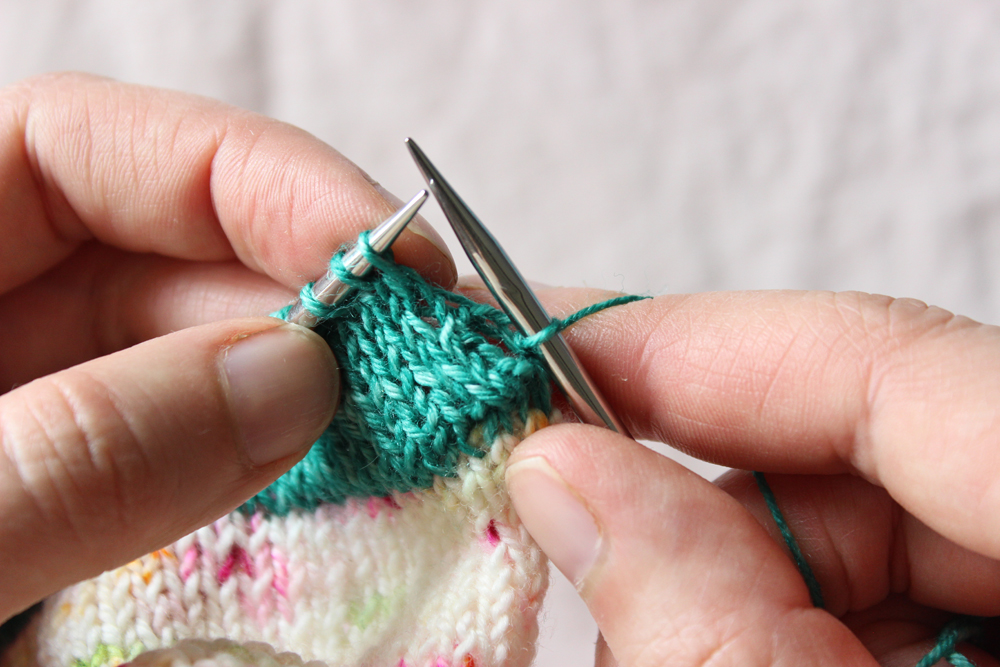
Step 4
Repeat step 2 and 3 as many times as necessary.
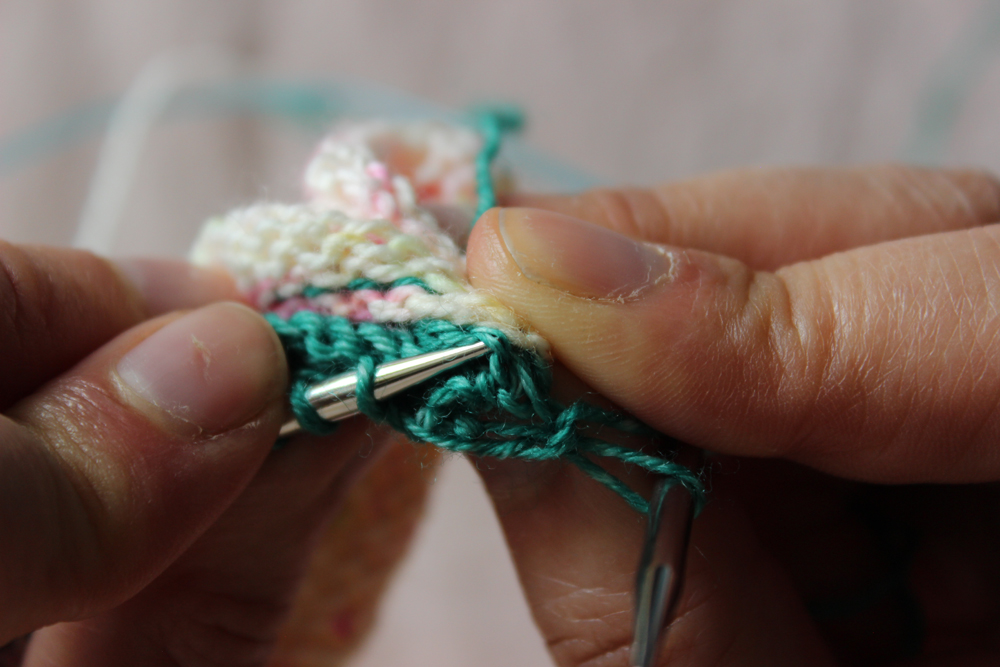
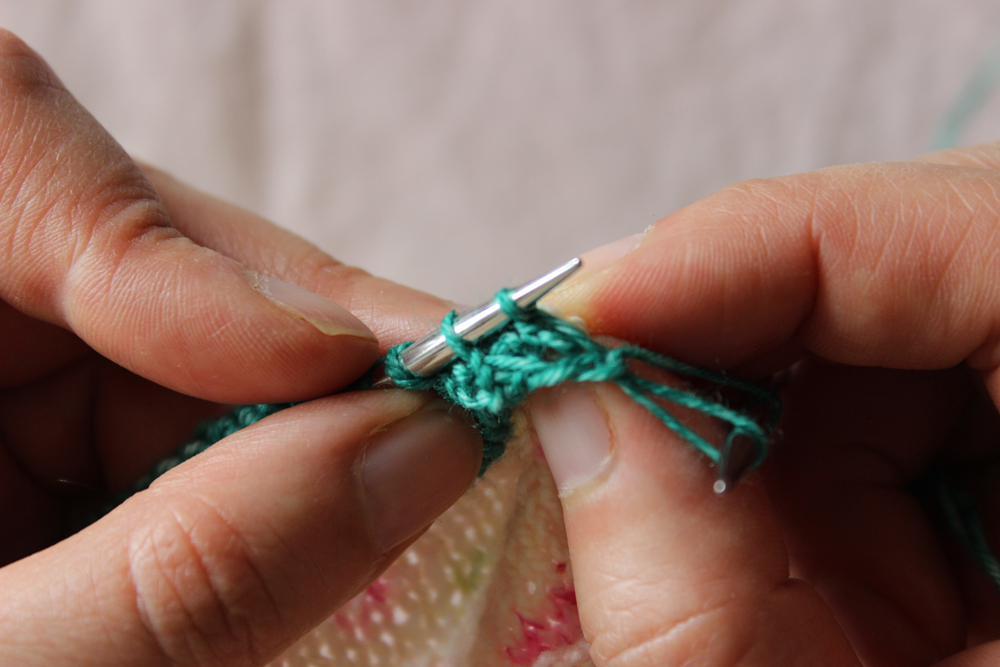
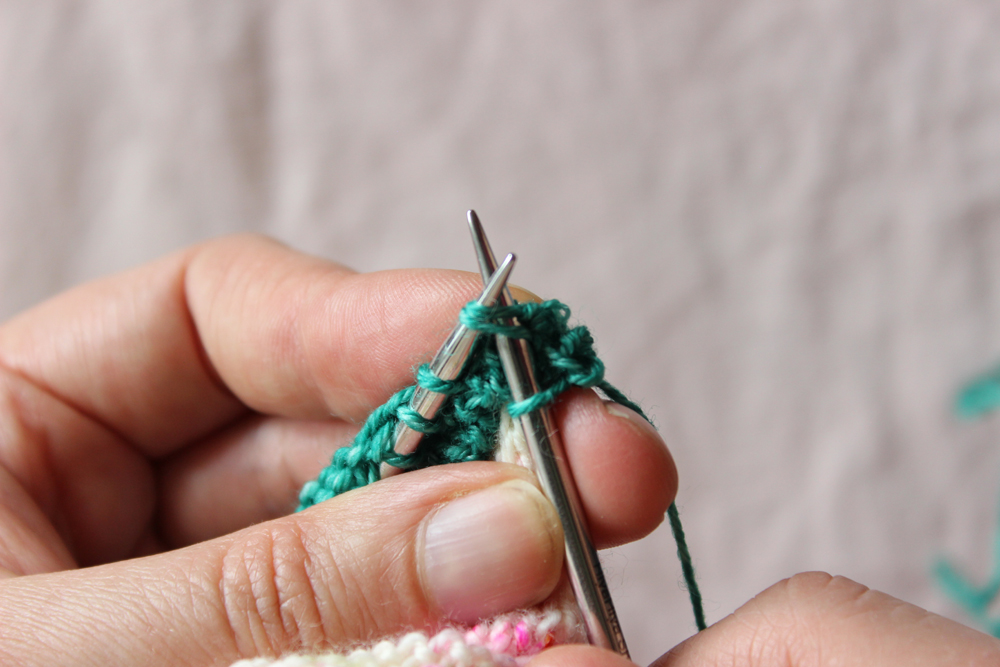
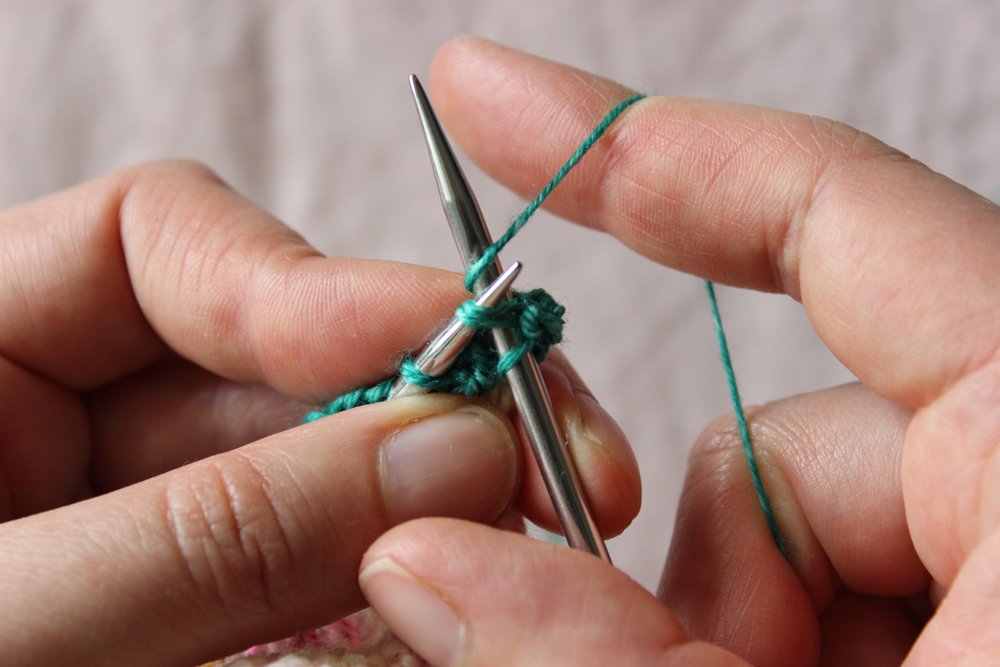
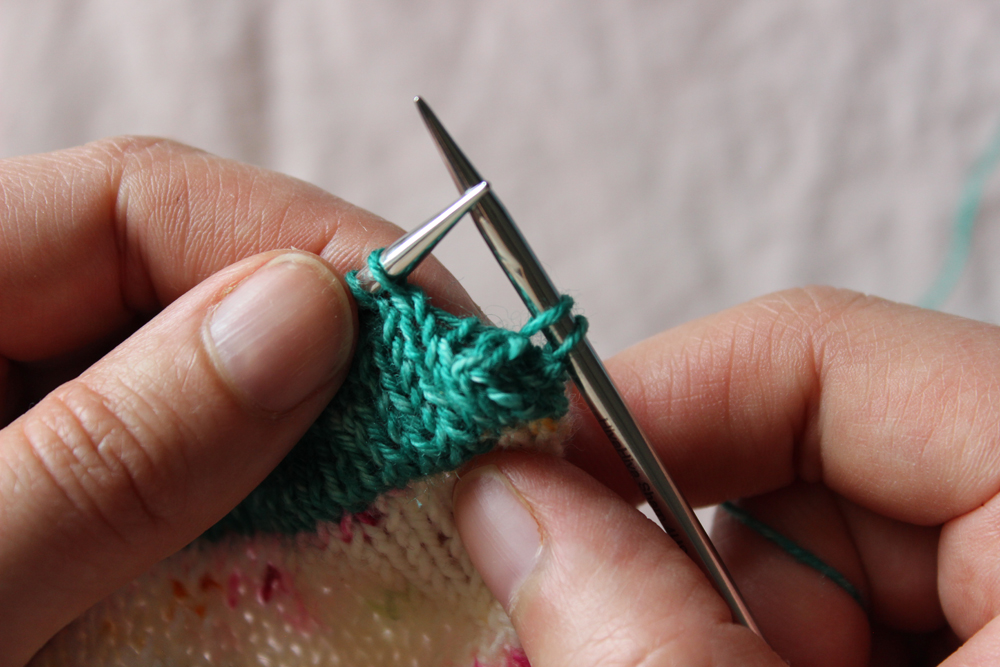
After a few stitches (~10), you will reaaly see the beginning of the pleat.
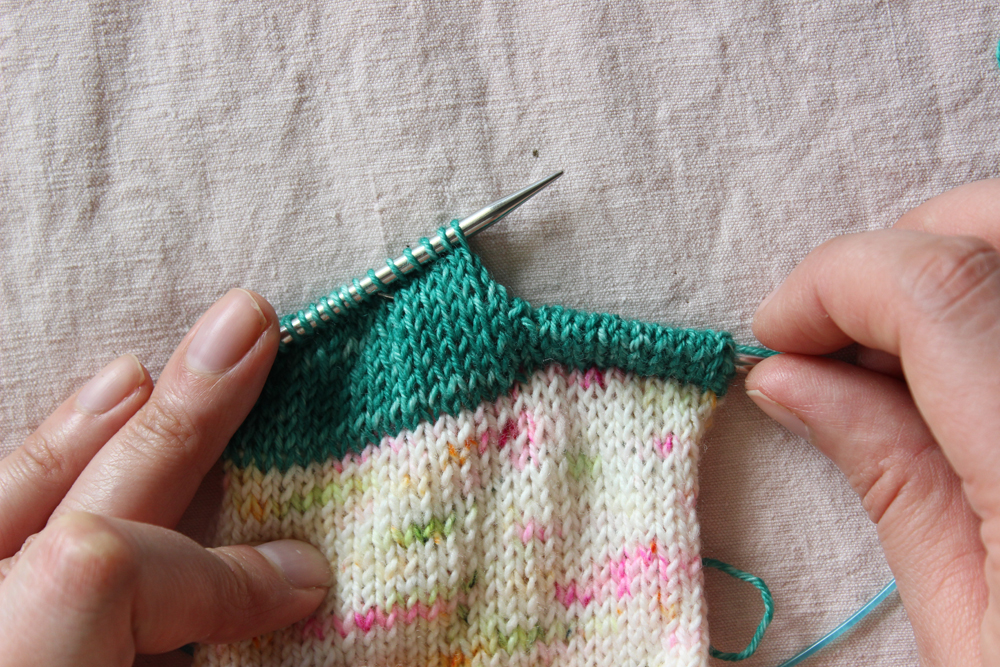
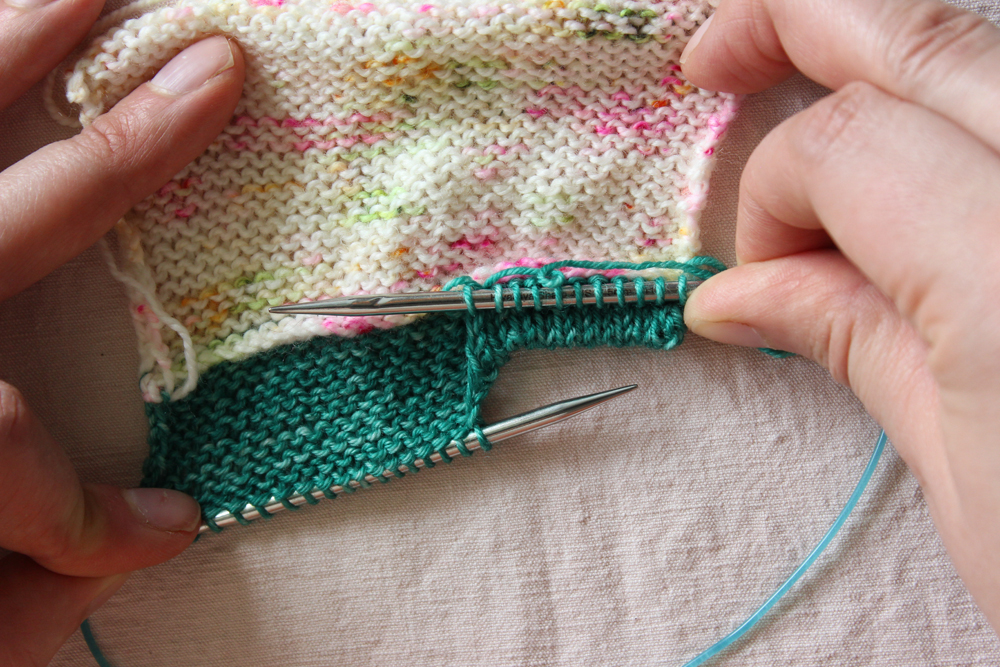
Continue until you have worked all the stitches of the row (or round).
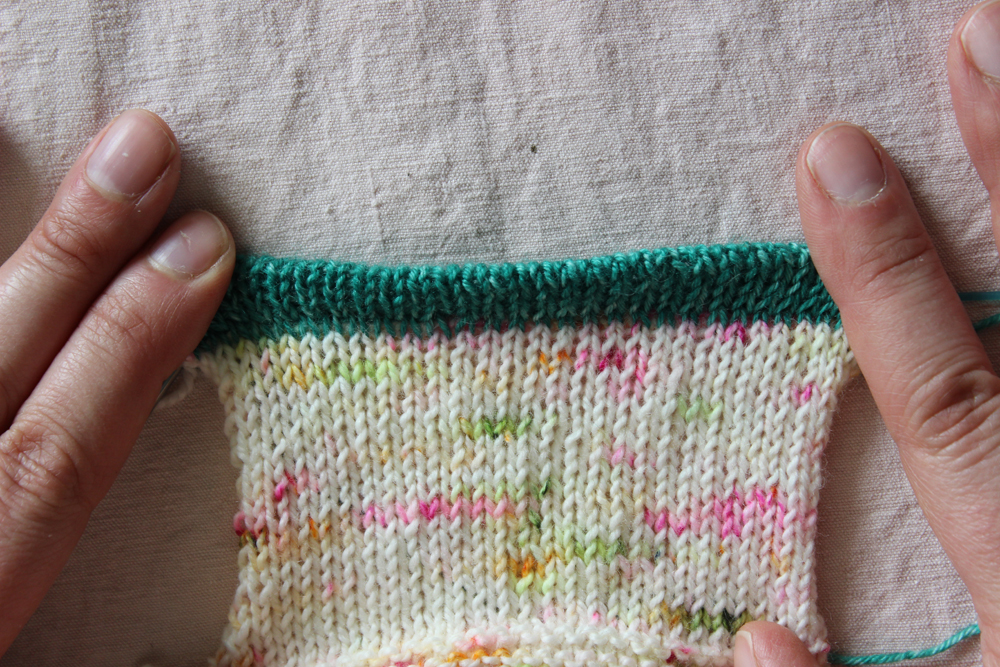
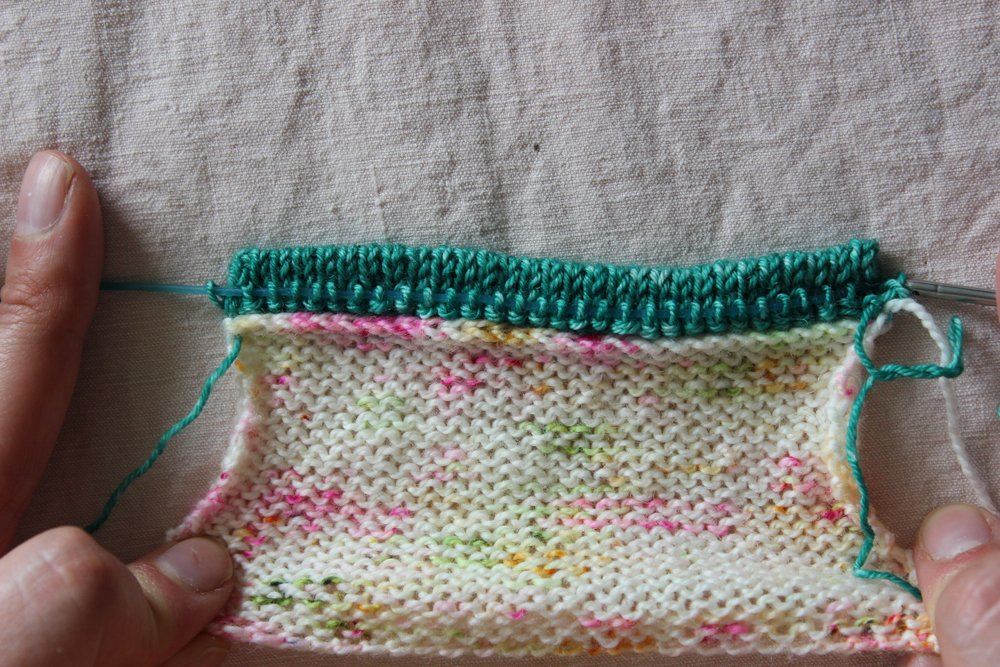
Result
Here are 2 horizontal pleats !
You found this pattern useful ?
You can « buy me a KOFI »
eand help me create more tutorials !

