It is possible to work cables without a cable needle. It works better for small cables (6-8 sts max. in total).
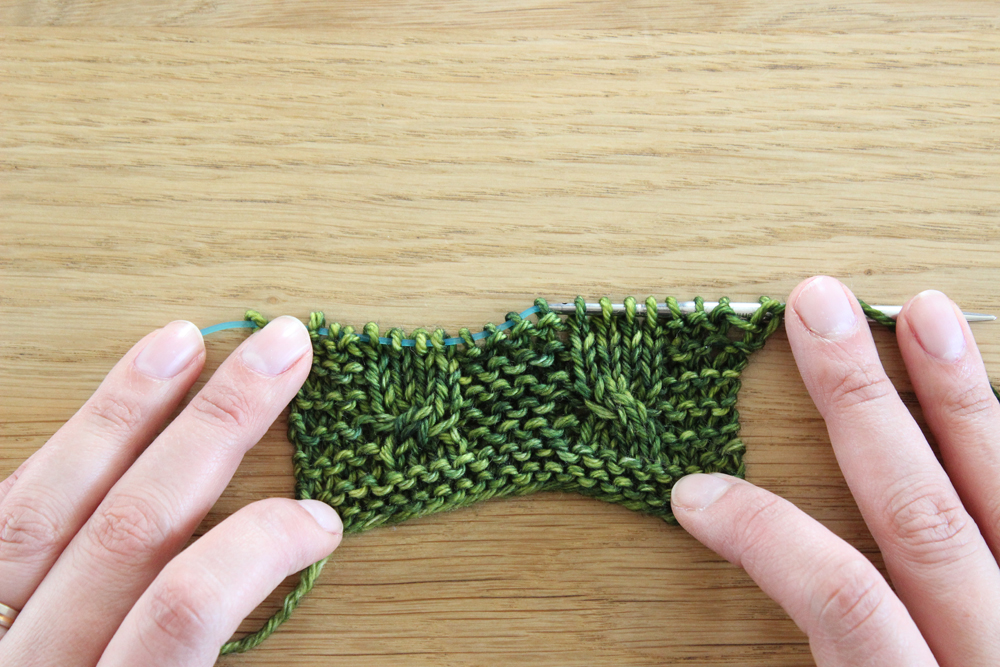
In my knitting patterns, cables are usually indicated with W/Y LC or X/Y RC.
X represents the number of stitches going through the front and Y represents the number of stitches going through the back. LC indicates that the stitches going through the front go to the left and RC indicates that the stitches going through the front go to the right.
In this tutorial, I show you how to work 2/2 LC and 2/2 RC cables without any cable needle. The technique is the same for 1/1 LC, 1/1 RC, 2/1 LC, 2/1 RC…
2/2 LC
This abbreviation means 2 stitches are passing in front of 2 other stitches, going to the left (all knitted).
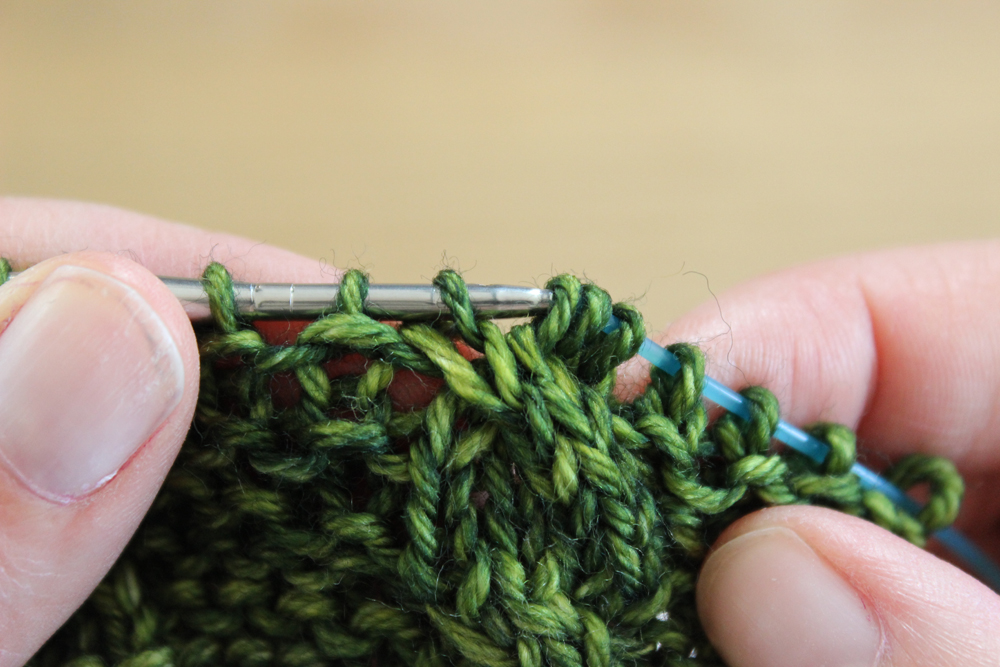
Step 1
When you reach the cables stitches, drop the first 2 sts from the left needle. These stitches will go to the front.
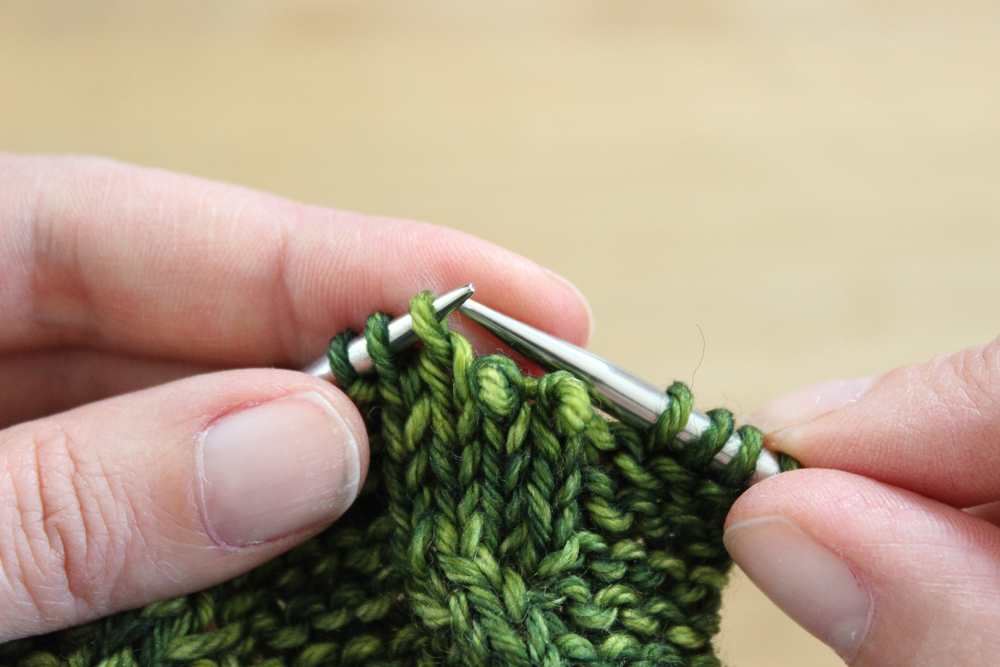
Step 2
With the point of the right needle, going behind the dropped stitches, slip 2 stitches from the left needle to the right needle.
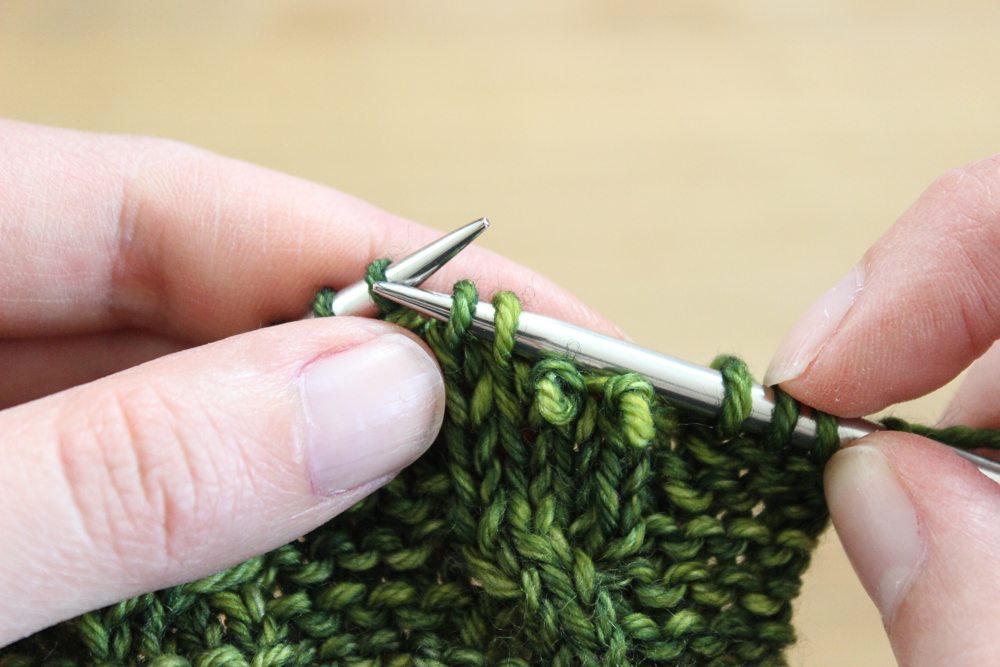
Step 3
With the point of the left needle, pick up the 2 dropped stitches (going in front the 2 slipped stitches on the right needle).
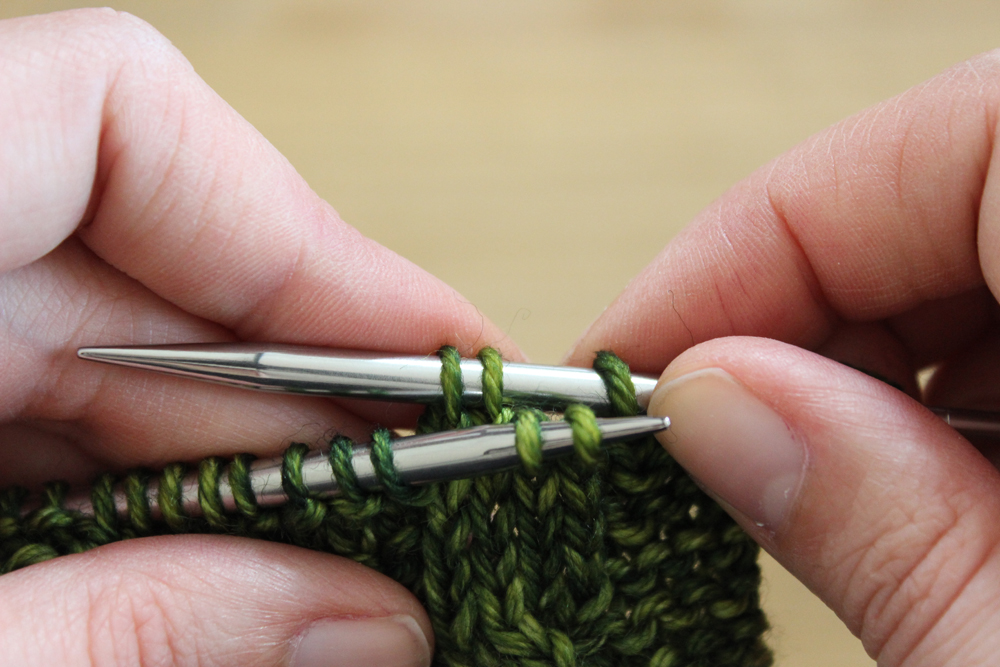
Step 4
Slip back 2 stitches from the right needle to the left needle.
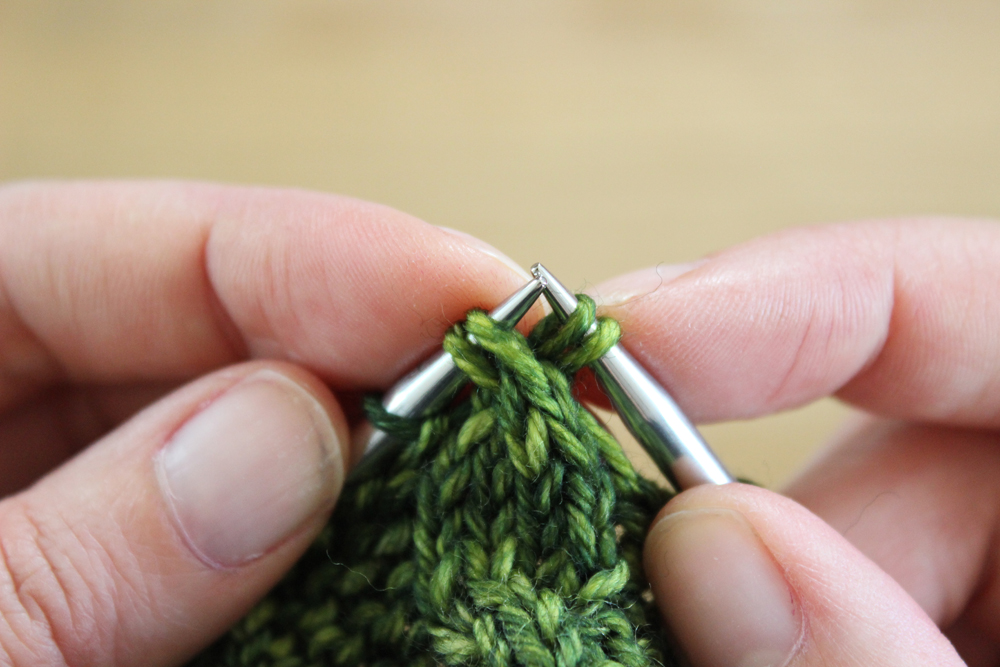
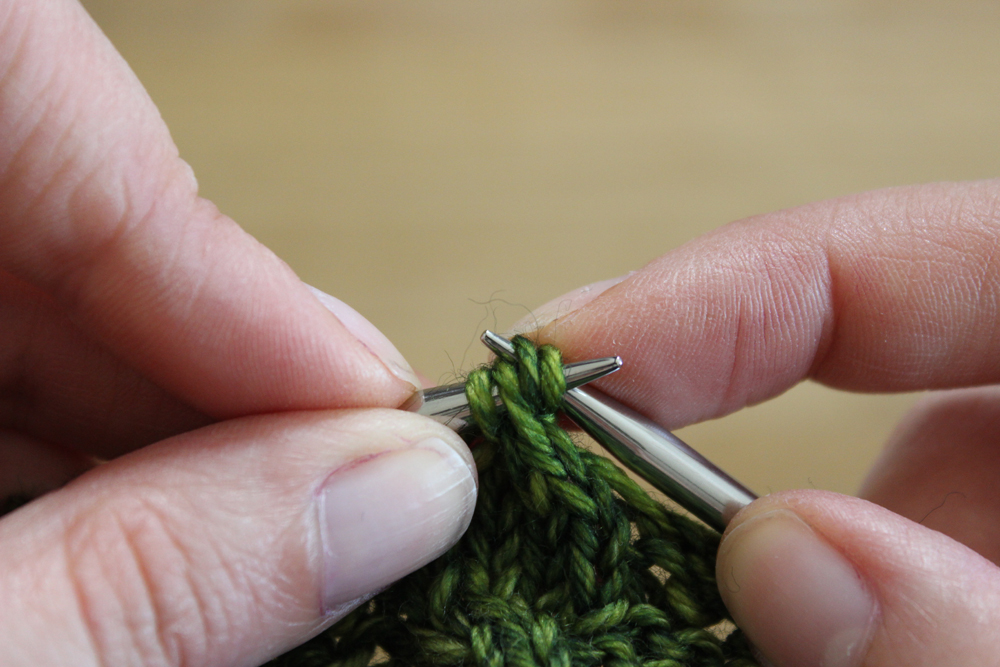
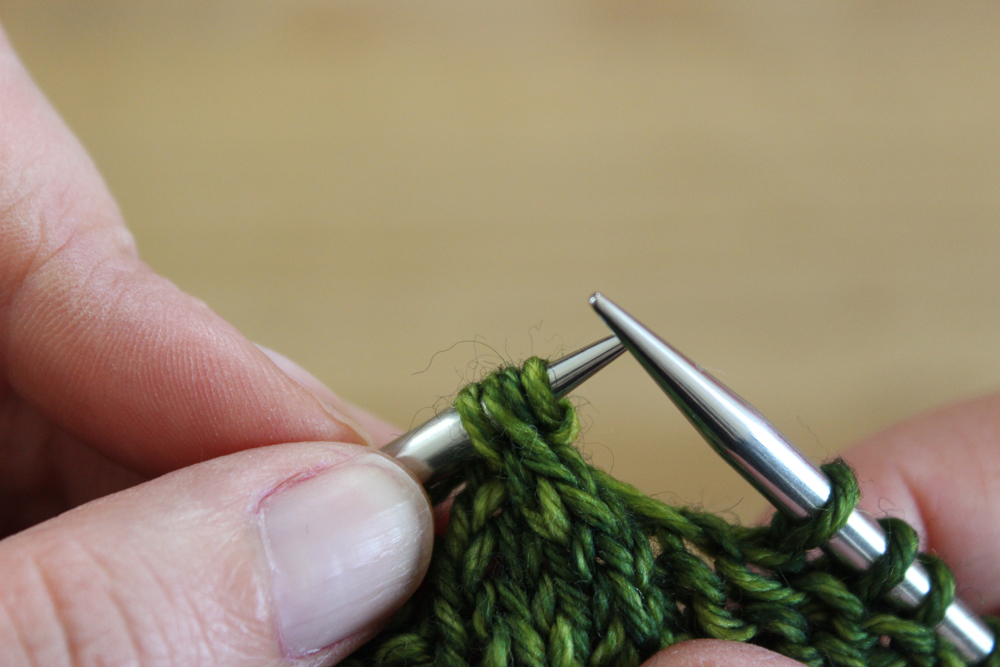
Step 5
Knit the 4 stitches for the cable.
Torsade 2/2 RC
This abbreviation means 2 stitches are passing in front of 2 other stitches, going to the right (all knitted).
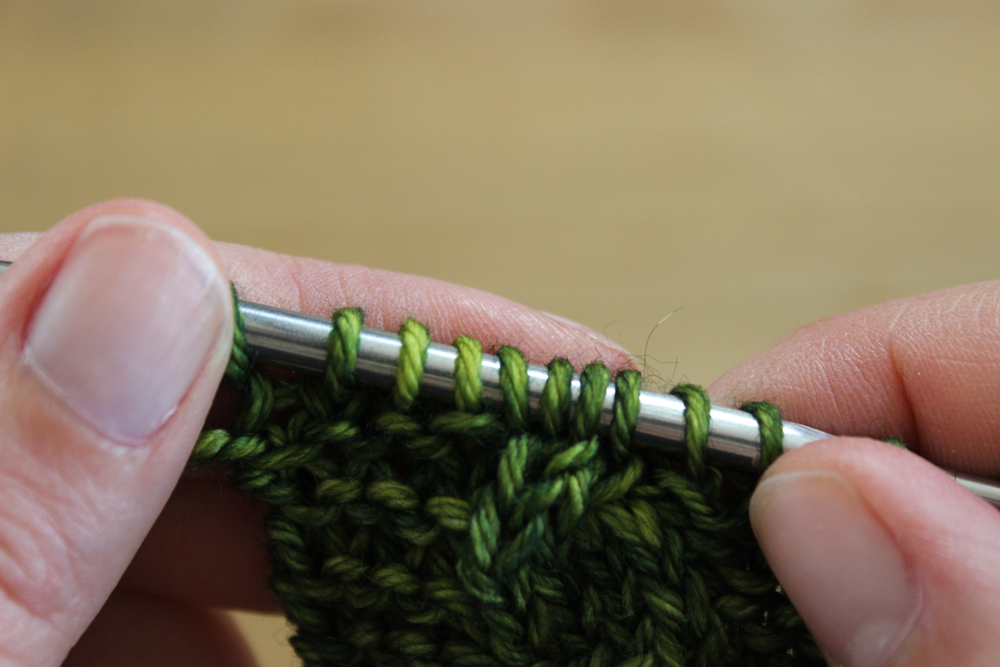
Step 1
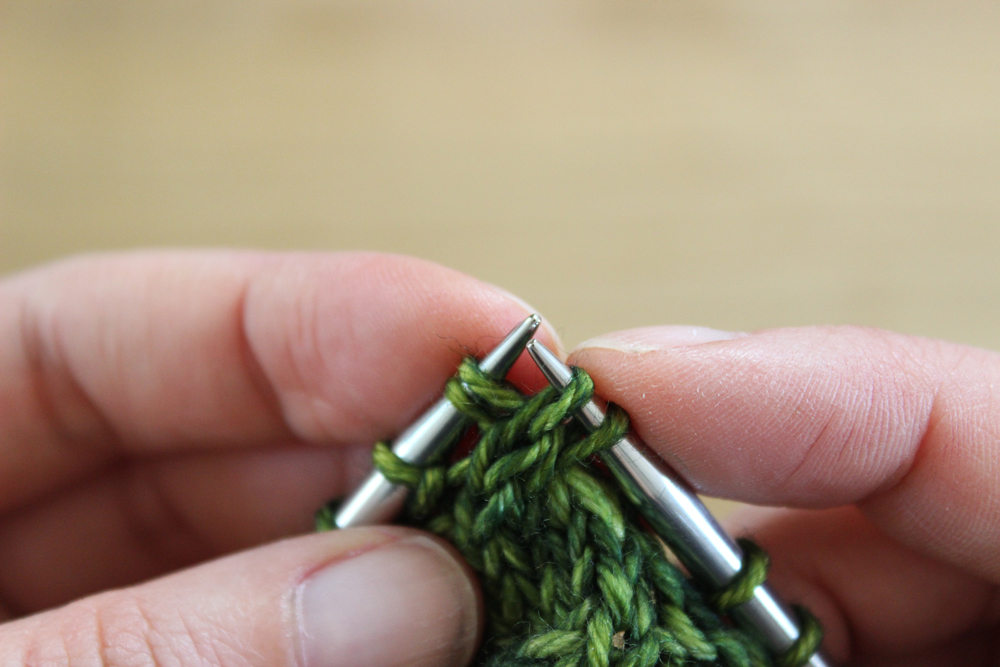
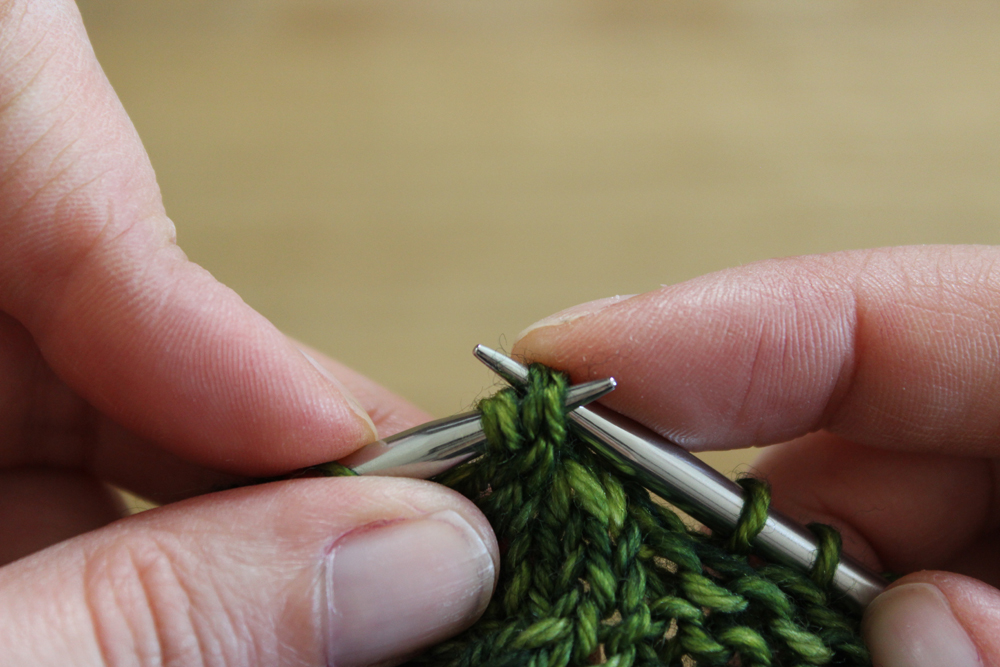
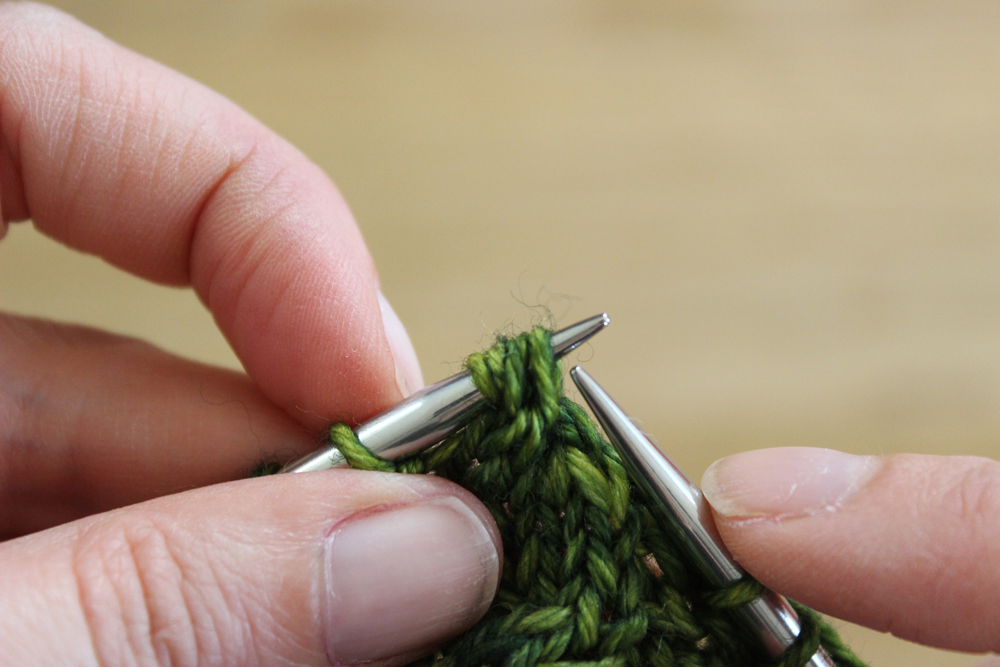
When you reach the cables stitches, drop the first 2 sts from the left needle. These stitches will go to the back.
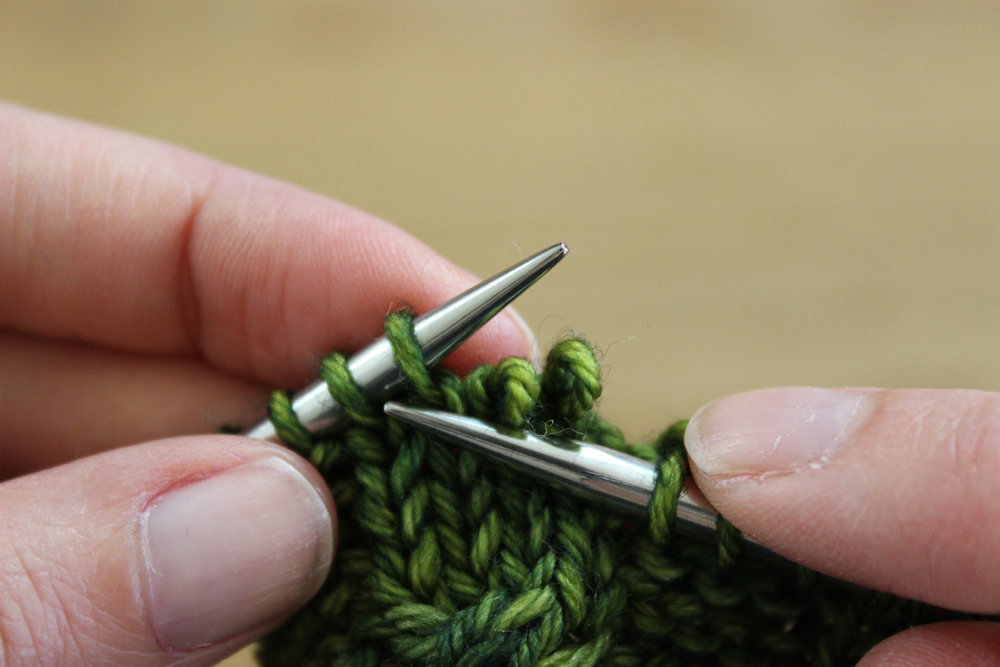
Step 2
With the point of the right needle, passing in front of the dropped stitches, slip 2 stitches from the left needle to the right needle.
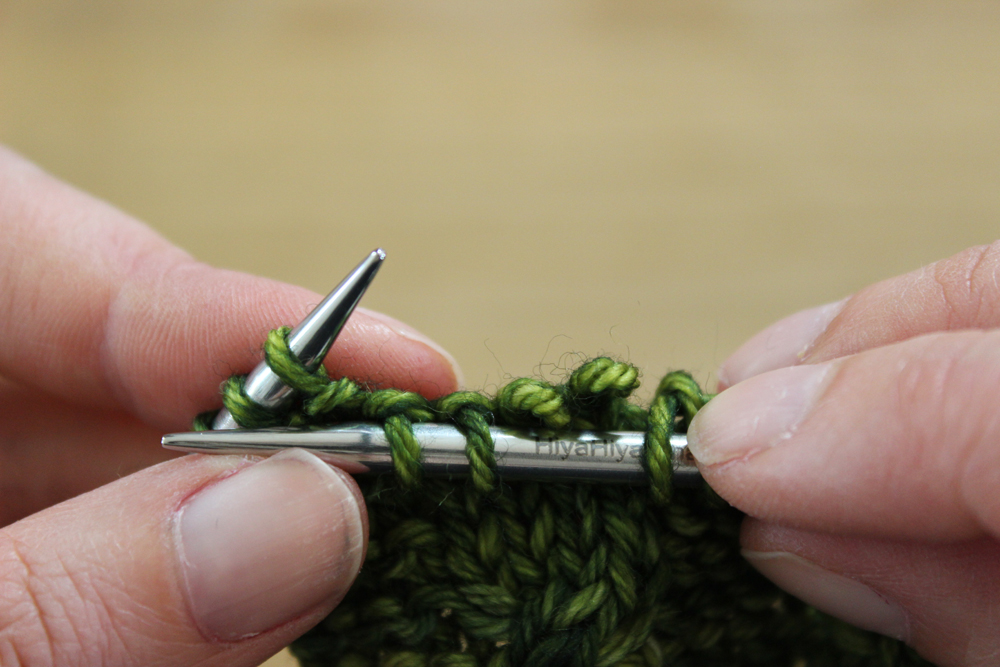
Step 3
With the point of the left needle, pick up the 2 dropped stitches (going behind the 2 slipped stitches on the right needle).
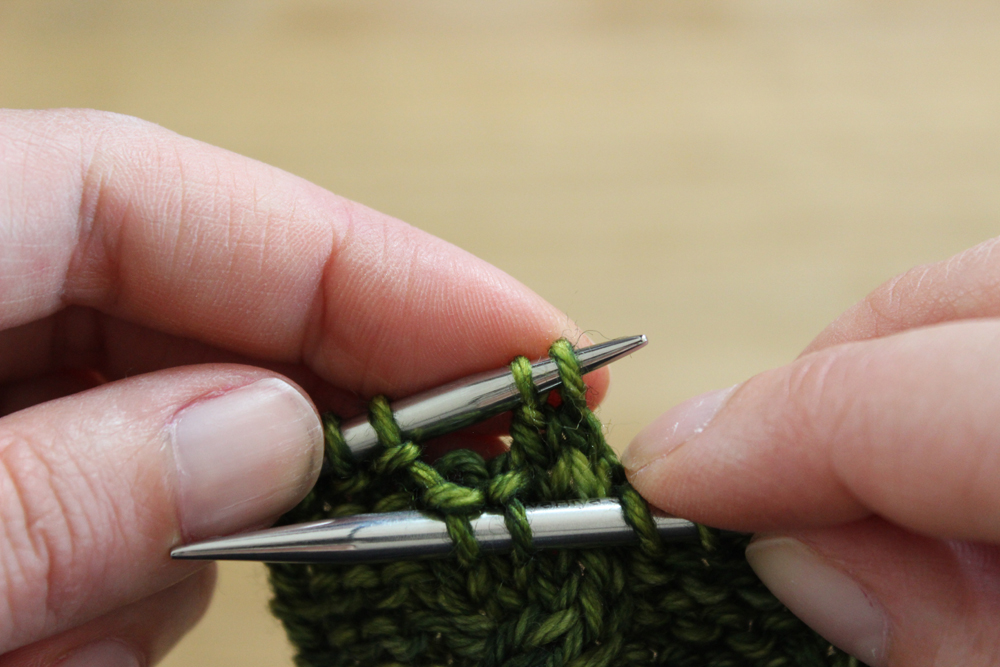
Step 4
Slip back 2 stitches from the right needle to the left needle.
Step 5
Knit the 4 stitches for the cable.
You found this pattern useful ?
You can « buy me a KOFI »
eand help me create more tutorials !
